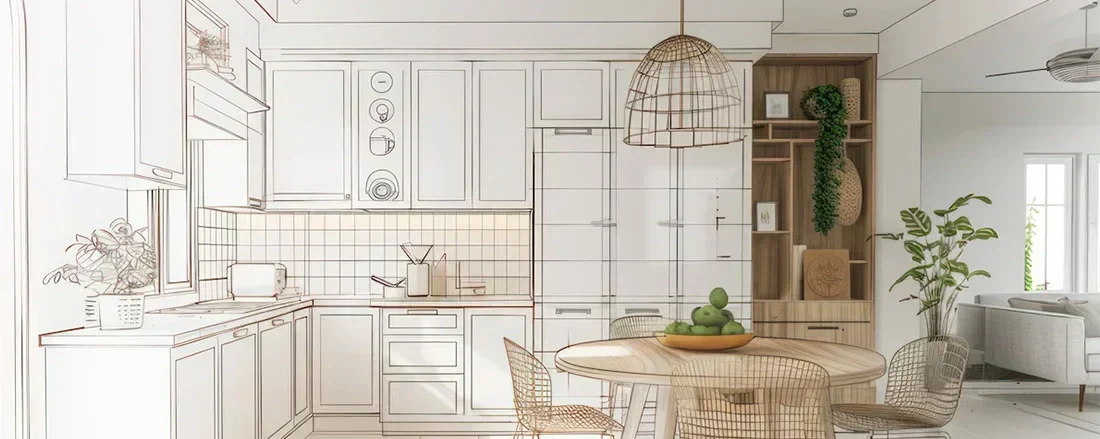
Step Two: Kitchen Layout & Trims
Share
✔️ 1. Consider Your Needs
Once you have your measurements written down, there are a few layout considerations to finalize.
When thinking through your cabinetry needs, consider the following:
People & Flow:
Your family size, and the size of gatherings when you entertain. more people = more storage for dishes, more seating, and the need to leave ample space for walkways
Storage, Workspace & Lighting:
Your personal use-case as it relates to storage. Do you have a lot of appliances, specialty dishes, or need space for an extra fridge, or expanded pantry storage? Generally, high-use appliances and kitchen utensils are kept close-at-hand, with less often used items stored further away.
Prep-space, and serving space are on the list to consider. If possible leave yourself some counter space that's not interrupted up by a stove, or sink.
Consider placement of ambient lighting to give general light to the space, accent lighting to add depth and focal points, and task lighting so you can see what's going into your soup!
Appliances:
Dishwashers are often best placed near a sink for easy plumbing.
Fridges can be placed out of main walkways. Often placed at the end of a row of cabinets, the fridge still needs to be nearby since it's frequently accessed.
Stoves, ovens, and cooktops are usually central. They can create a great focal-point opportunity when an eye-catching range-hood is placed above them.
in the case of a renovation: Don't forget that if you're planning to relocate your appliances, you will also need to move the existing plumbing and electrical.
🔨 2. Understand Trim Basics
Finished-End Panels
Your cabinet box (or carcass as us cabinet-makers call it) is essentially, just a plywood box. Unless you're into a hyper-minimalist look, you'll want each side of that box to be finished in the colour and/or woodgrain you've selected. Once the finished-ends are applied, the box itself will no longer be visible.
The back of the cabinet box is usually against the wall, so that's taken care of. With the countertop completing the top of the box, the floor underneath, and doors or drawers in the front, all you have to do is deal with each side or "end" of the cabinet box.
Here are the three scenarios you'll run into:
Adjoining Cabinet or Appliance -- No End-Panel. If the cabinet side is adjoining another cabinet (beside a cabinet), nothing needs to be done since that side will not be visible. If against an appliance, you won't get an end-panel for that cabinet, since you'll purchase an appliance trim package instead.
Against Wall -- No End-Panel (wall-trim instead). If the cabinet side is against a wall, you'll need to leave a 1" gap minimum for wall trim. You'll receive a 3" trim that you can cut down and scribe to follow the contours of your wall perfectly (don't worry, we'll explain how!)
Open To Room -- Yes End-Panel. If the cabinet side is open to the room, you'll need a finished end panel to complete the cabinet. If a Finished-End Panel is needed, we include it in the total width of the cabinet.
Toe-Kick Trim:
Toe-kick trim is included with all of your base cabinets automatically. Most cabinet boxes don't extend all the way to the floor. Instead, they're up a few inches on foot levellers. This makes it easy to install them even when your floor isn't perfectly level.
A toe-kick trim is a trim that fills this gap between the bottom of the cabinet and the floor, and is usually recessed so that your toes can fit under the cabinet, allowing you to get your body closer to the countertop where you're working.
Crown Moulding:
Crown can give more height to your cabinets, drawing the eye upwards. It also transitions your cabinetry to the ceiling, making it appear more seamless. We offer both a classic concave crown profile and a more contemporary straight-edged crown.
Valance:
Valance trim underneath your wall cabinets is a slim rail-trim that can visually tie-together your individual cabinet boxes, and serves the additional purpose of concealing any under-cabinet lighting you may install.
Sometimes a much larger decorative valance trim can be placed above a sink, connecting two upper cabinets. We find this style a little dated, and don't offer this type of valance.
Base Moulding:
Sometimes called "furniture base", this moulding bumps-out the base of your cabinets along their sides, adding detail and elegance. This trim doesn't replace your toe-kick.
📝 3. Pencil-In Cabinet Selections
So, you have a handle on trims. It's time to start penciling in the types of cabinets that will best suit your needs. We recommend you add them in this order:
1 - Appliance cabinets:
Appliance cabinets must be located where plumbing and electrical are accessible. These become "anchors" in your design. Add-in your Stove, Fridge, Dishwasher, Sink, and any other appliances such as microwave, or wall-oven.
2 - Appliance adjacent:
Add any cabinets that need to be adjacent to your appliances or primary work spaces such as a spice-pullout near your cooktop, garbage pullout where you'll do your food prep, or storage drawers or cupboards near your dishwasher for easy access.
3 - General storage:
Fill in the gaps with any additional cabinets for storage of appliances, utensils, or foodstuff. Don't forget about symmetry, and balance in the room!
Final thoughts:
Remember to leave space for wall and end-panel trims. Once you have your cabinet layout done on-paper, you can select your cabinets on our site and add to cart!
